
These are a great project to do as a family during Christmas break and they are great gift ideas. They would even be great for party favors or craft ideas for kids activities in Sunday School or at kids events.
Want an easy, inexpensive activity to do with your kids or gift to give away? Our kids have enjoyed the opportunity to create and give gifts of their own through these simple ornaments.
Each year, we make a double batch and use just one push spring cookie cutter/fondant cutter, so you’ll see a lot of the same thing in my pictures.
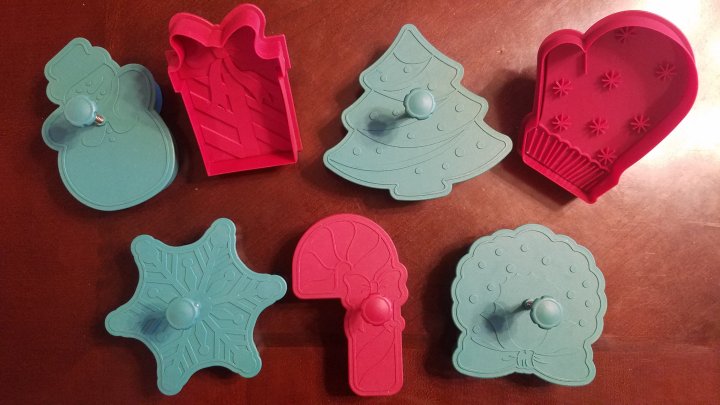
Take a look here to see what other cookie cutters have created. You’ll want to use push spring cookie cutters/fondant cutters like these or these:
You could use these dinosaurs to create birthday party favors for kids.
Ingredients
- 1 cup cornstarch
- 2 cups baking soda
- 1 1/2 cups water
Directions
- Combine ingredients in a medium to large pot. Stir constantly over medium heat. Stir until mixture until it begins to ball up (you can form it into a mound and it holds shape a bit).
- Remove it from heat.
- As soon as it is cool enough for you to touch it (but still warm!), place it wax paper lightly sprinkled with cornstarch. Roll it out to about 1/4 inch thick.
- Use a push spring cutter to cut out the desired shape. Be sure to press down firmly so that the intended shape is imprinted. Lift up the cut shape still inside the cookie cutter and rest the bottom on your hand. I scoot the cookie cutter off the side of the counter and onto my hand.
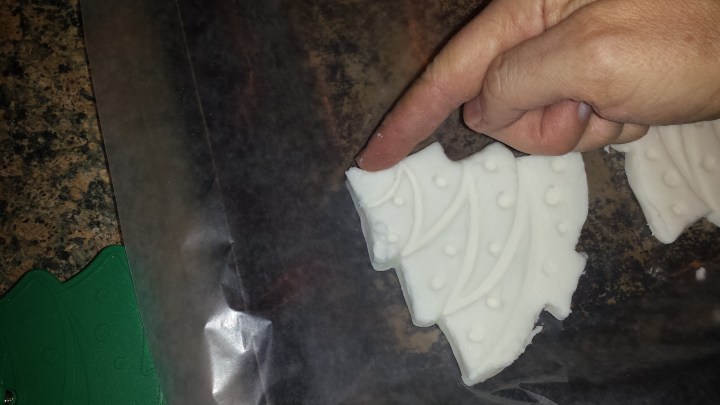
- Gently transfer it from your hand to a baking sheet lined with parchment paper.
- Push the release on the spring cutter, and gently raise the cutter away from the ornament.
- Poke a small hole in the top with a juice box straw, skewer, or lollipop stick. Be sure to poke it all the way through evenly.
- Let dry. You can let them air-dry completely for a couple of days. Turn them over occasionally. I put them in a dehydrator for a day to speed up the process. If you want to move the process along faster, bake them at 175 for 45 minutes to an hour.
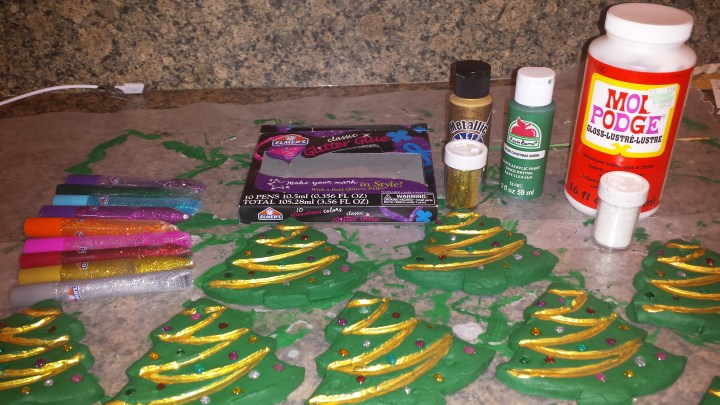
- Paint as desired. We use acrylic paints and glitter glue pens (for dots and finer details to have a more raised look).
- Sign and date it on the back if desired.
- Paint Modge podge over the front. Let dry. Modge podge over the back. Even very little ones can help with this step. You are just coating it with modge podge evenly. This protects it long-term. It looks cloudy at first, but don’t worry! It dries just like glue- clear. Get shiny (not matte) Modge Podge if you want a shiny overall look.
- Be sure to re-poke the hole after this step to ensure it doesn’t get sealed over.
- Let dry, tie on your ribbon or string and hang it on your tree or wrap it up for a loved one!
Want a Picture Tutorial?
If you’re like me the first time I did this, you might find this step by step picture tutorial helpful.
Step 1: Stir, Stir, Cook

Combine ingredients in a medium to large pot. Stir constantly over medium heat. Stir until mixture begins to thicken and have a smooth texture. I have found that if I stir until it begins to ball up (you can form it into a mound and it holds shape a bit), it is ready.
I have at times taken it off too early, and it was so wet and sticky that I could not get it out of the cookie cutter. When this happened, I put it back in the pot and cooked it a little longer. These turned out dryer than I’d like. It’s better to cook it till it’s like this the first time.

Step 2: Very Slightly Cool
Remove it from heat and allow it to slightly cool for a couple minutes. While it cools (enough that it won’t completely melt the parchment paper or burn your hands), spread out some parchment paper.

Step 3: Roll It!
As soon as it is cool enough for you to touch it (but still warm!), place it on the parchment paper lightly sprinkled with cornstarch.

Roll it out to about 1/4 inch thick.

Step 4: Cut Them Out
Take a push spring cookie cutter like this:


These kind of cutters are also called fondant cutters.
Use a push spring cutter to cut out the desired shape. Be sure to press down firmly so that the intended shape is imprinted. Lift up the cut shape still inside the cookie cutter and rest the bottom on your hand. I scoot the cookie cutter off the side of the counter and onto my hand.
Gently transfer it from your hand to a baking sheet lined with parchment or wax paper.
Push the release on the spring cutter, and gently raise the cutter away from the ornament.
You can press down to release the cut dough like this:
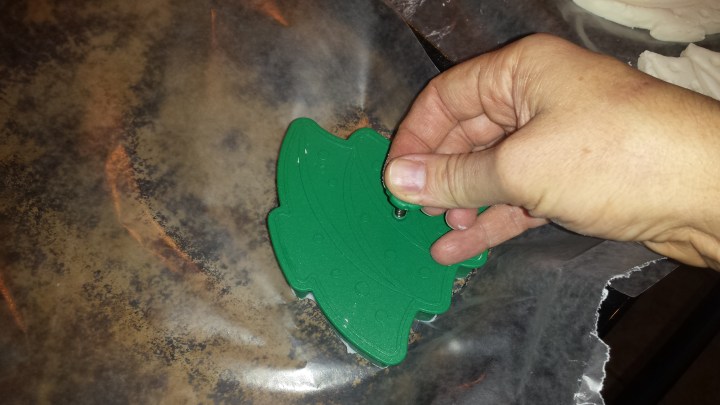
You want to be sure you’ve pressed hard enough to imprint all the detail of the cutter on the dough.

You might want to tap down any rough edges you see.
Continue cutting and re-rolling the dough until you run out of dough.


Shape your extra into a flattened circle or other shape for your kids to paint a picture on. Or, have them make a heart or another shape and paint it a solid color (or maybe a color loaded up with glitter like this heart).

Poke a small hole in the top with a juice box straw, skewer, or lollipop stick. Be sure to poke it all the way through evenly.
Step 5: Let Dry Completely
Patient No-Fuss Method:
You can let them air-dry completely for a couple of days. Turn them over occasionally.
Need if Faster, but I’ve Spent Enough Time in the Kitchen Today Method:
I usually put them in the dehydrator on medium heat for a day, turning a couple times (or just once if that’s all I remember).
Need it ASAP Method:
If you want to move the process along faster, bake them at 175 for 45 minutes to an hour.
Step 6: Decorate!
Paint as desired. We use acrylic paints and glitter glue pens.
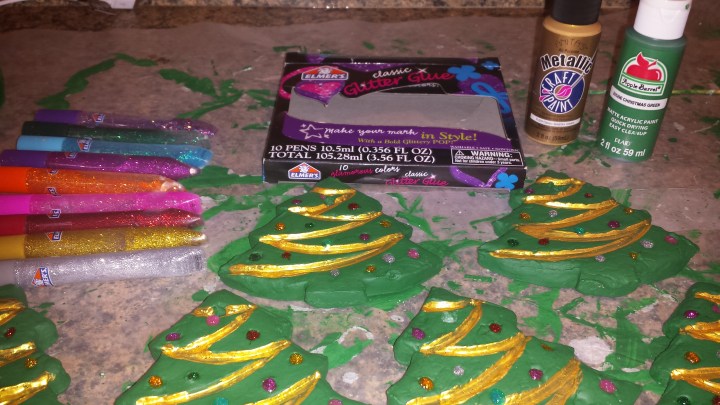
The glitter glue pens work well for dots and finer details to have a more raised look.
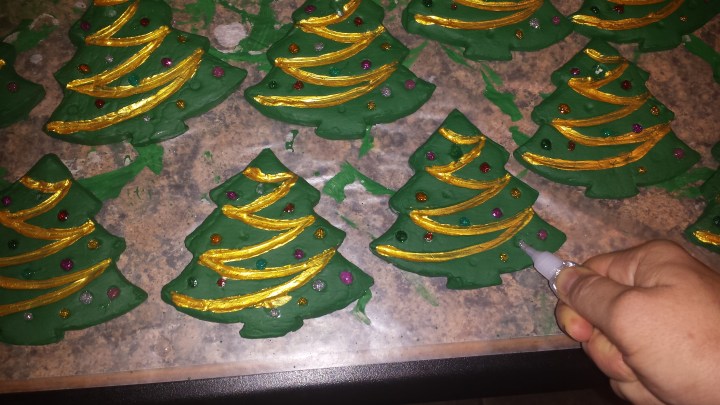
Sign and date it on the back if desired.
Step 7: Finish and Preserve it
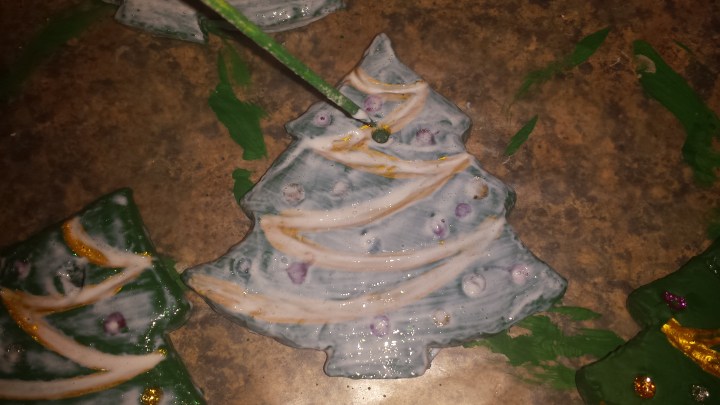
In this step, you are sealing off both sides to help protect and preserve it. (And to contain any glitter you may be using)
If you want it to shine, use gloss Mod Podge (not matte). If you want it to sparkle, add glitter to your Mod Podge. (Don’t worry, it won’t flake later).
Paint Mod Podge over the front and sides. Let dry.

Remember, this is a fun family project. It is very easy for little ones to help with this step. They can make a mess on this step and everything will dry clear.
You are just coating it with Mod Podge evenly. This protects it long-term. It looks cloudy at first, but don’t worry!

As it dries it becomes more and more clear. These are almost dry.

Be sure to re-poke the holes after each Mod Podge step so they don’t get sealed over. Learned that one the hard way.
Mod Podge over the back. I was in a hurry. The front wasn’t completely dry, but I wanted to get the back over with, so the skewers I used to poke the holes helped a lot.
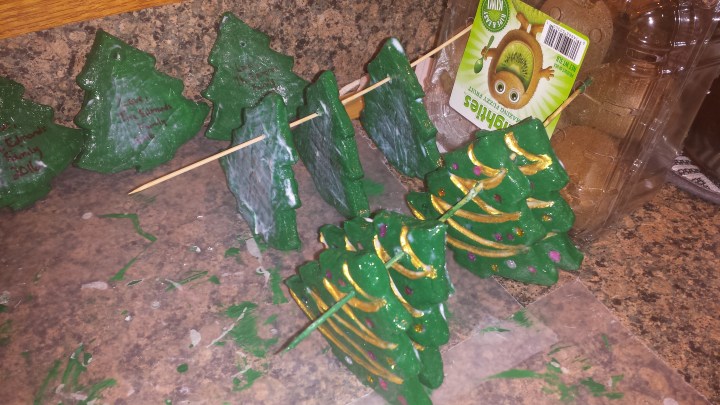
It dries just like glue- clear.
Then they are finished and ready for you to tie a small ribbon or string through and hang on your tree or wrap up for a friend!
Want More Fun Frugal Ideas?
- DIY Beach Day at Home
- Easy Clean-up Finger Painting
- Teach Your Kids To Read- Inexpensively and Effectively
- 5 Things to Do With Extra Halloween Candy
Photo Credit: Photo by DiEtte Henderson on Unsplash

2 thoughts on “Inexpensive DIY Baking Soda Ornaments”